RV Repair 101: Repairing Rotten Wood Flooring
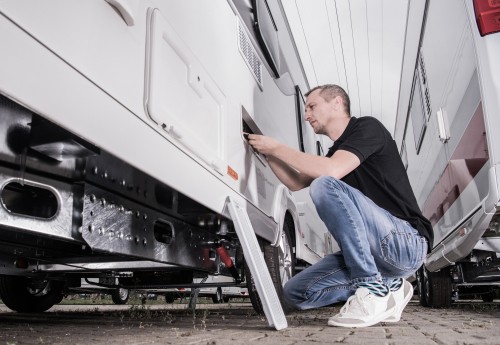
RVs offer fun, excitement, and plenty of adventurous opportunities. But for all that they have to give, they require regular attention in the form of maintenance and upkeep to keep them looking and working at their prime for as long as possible. One of the most important things to watch out for with camper trailers and RVs is water damage, as these vehicles by their very nature are commonly exposed to the elements.
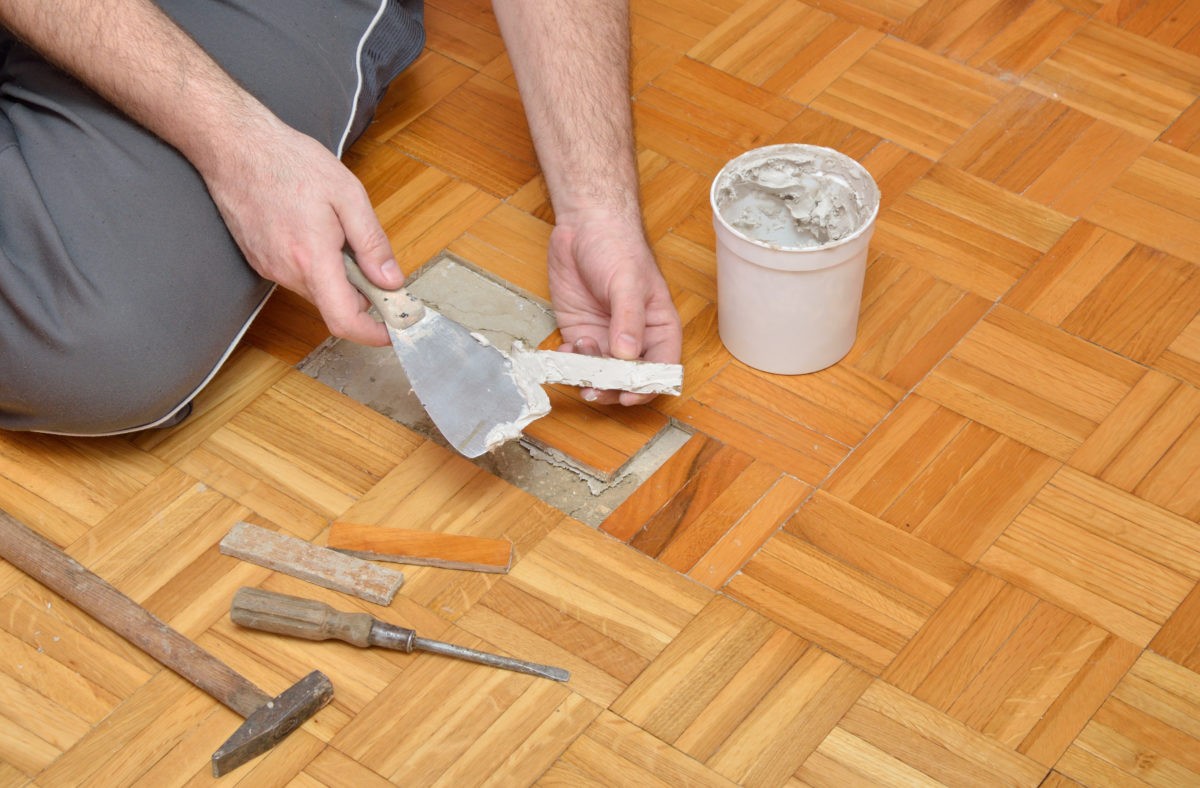
RV flooring tends to be particularly susceptible to water damage and subsequent rotting, which can look and feel like a major RV repair project and headache. The good news is that repairing rotten RV flooring can be readily done by the handy owner if repairs are started quickly and are properly done. The following is a quick look at the RV repair steps necessary for fixing rotten wood flooring:
RV Repair 101: Repairing Rotten Wood Flooring
- Determine the source and scope of damage. First, you want to identify the source of water damage and then determine the full scope of the damage. Common sites for water intrusion and subsequent damage include leaking windows and broken siding. While you may want to call in a professional for extensive damage more than a couple of cubic feet, small areas can be repaired with relative ease.
- Remove damaged areas and create a clean worksite. Now that you know the full extent of the damage, it’s important to remove everything and anything that prevents you from fully accessing the problem locations. For example, you’ll want to pull out cabinets, wallpaper, and any paneling that impedes access to the damaged sites.
- Allow framing to dry out and use a mold-killing product. If water intrusion has caused the wood framing of your RV or camper to get wet, then you’ll need to allow it to fully dry out before covering it back over with wood flooring. Allow for open-air drying of framing materials for at least a week and then use a mold-killing product such as a borax solution to eliminate future rot issues in the same area.
- For framing, consider using a wood hardener or epoxy resin. To strengthen your wood framing and prevent against future water intrusion and rot, you might consider using an epoxy or wood hardener that will seal and waterproof the wood. That said, it is very important for framing materials to be completely dried out before doing this otherwise you risk creating a type of shell that encourages rot in the wood underneath the seal. Allow three to four days for epoxy resin to completely cure.
- Replace with new flooring. Now that you’ve taken care to completely dry out and protect the framing against future water intrusion, you can lay out new flooring. Consider adding new cross supports and sub-flooring for sturdier end results.
Need Help? Call Your RV Repair Gurus
For more help on repairing rotten flooring, sealing up water leaks, and other RV repair jobs big and small, contact our team at Premier Coach Works!